





Adding a chat widget to your website should take less than 5 minutes. Configuring it to actually convert visitors into customers takes a bit more thought. This guide covers both: the technical setup on every major platform, and the optimization strategies that turn a chat widget from a passive feature into an active revenue driver.
Part 1: Choosing Your Chat Widget
Before you install anything, you need to choose the right widget. The decision comes down to three questions:
Question 1: What is your budget?
If the answer is zero, your options are Knocket (free, no branding, full features) or Tawk.to (free, branding, heavy script). If you can spend $20-60/month, LiveChat, Tidio, and Crisp offer more advanced features.
Question 2: Do you need AI chatbot automation?
If you want an AI chatbot to handle routine questions automatically, Tidio (Lyro AI) and Chatbase (custom-trained AI) are your best options. If you prefer human-to-visitor chat, Knocket and Tawk.to are simpler and more focused.
Question 3: How important is page speed?
If page speed is critical for your SEO and user experience, choose Knocket (~45KB) or LiveChat (79KB). Avoid Tawk.to (749KB) and HubSpot (450KB) if your Core Web Vitals scores are already borderline.
Part 2: Installation Guide by Platform
Any Website (Universal Method)
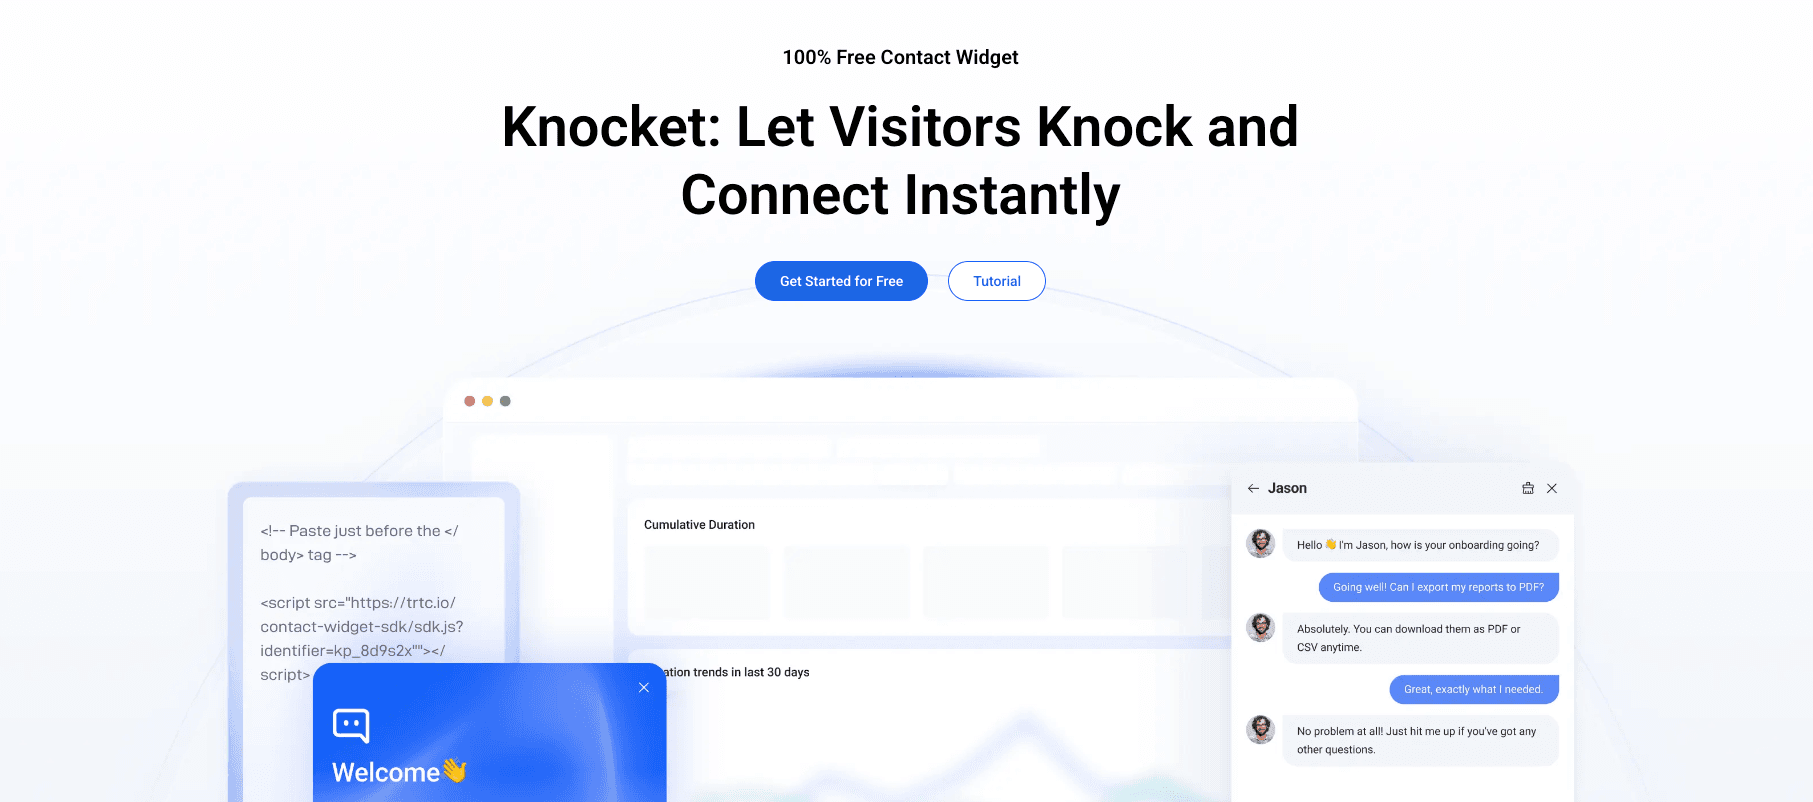
Every chat widget provides a JavaScript snippet that looks something like this:
You paste this code into your website’s HTML, typically right before the closing </body> tag. The widget loads automatically on every page where the code is present.
Where to find the code: After signing up for any chat widget (Knocket, Tawk.to, Tidio, etc.), the dashboard will provide a “Install” or “Setup” section with your unique code snippet.
WordPress
On WordPress, you have three options:
Option A: Use a dedicated plugin – Many chat widgets have official WordPress plugins. Search for the widget name (Tidio, Tawk.to, Smartsupp) in Plugins → Add New. Install, activate, and connect your account.
Option B: Use a header/footer plugin – Install a free plugin like “WPCode” or “Insert Headers and Footers.” Go to the plugin settings, paste your chat widget code into the “Footer” section, and save. The widget will appear on all pages.
Option C: Edit your theme directly – Go to Appearance → Theme File Editor → find footer.php → paste the code before </body>. This is the most direct method but will be lost if you update your theme, so create a child theme first.
Shopify
On Shopify, add the chat widget code to your theme:
1. Go to Online Store → Themes
2. Click Actions → Edit Code
3. Find theme.liquid in the Layout section
4. Paste the chat widget code right before </body>
5. Save
Important: Custom scripts do not load on the Shopify checkout page. This is a Shopify security restriction that applies to all third-party scripts. Only Shopify Plus stores ($2,000+/month) can add scripts to checkout using checkout extensions.
Squarespace
1. Go to Settings → Advanced → Code Injection
2. Paste the widget code into the “Footer” field
3. Save
Squarespace’s Business plan or higher is required for code injection. The Personal plan does not support custom scripts.
Wix
1. Open your site in the Wix Editor
2. Click Add (+) → More → Custom Code
3. Paste the widget code
4. Set it to load on all pages
5. Save and Publish
Webflow
1. Go to Project Settings → Custom Code
2. Paste the widget code into the “Footer Code” section
3. Save and Publish
React / Next.js / Vue.js / Angular
For single-page applications (SPAs), the chat widget code should be added to your root layout component. In Next.js, add it to layout.tsx or _app.tsx. In React, add it to your App.tsx or use a useEffect hook to load the script dynamically.
The chat widget operates as an independent DOM layer and does not interfere with your framework’s virtual DOM or hydration. It runs outside your app’s component tree, so there is no risk of state conflicts.
Part 3: Configuration Best Practices
Installing the widget is the easy part. Configuring it correctly is what separates high-converting chat from ignored chat.
Setting Your Business Hours
Your chat widget should reflect your actual availability. If you set your hours as 24/7 but are only online from 9 AM to 6 PM, visitors who chat outside those hours will get no response – which is worse than showing an offline form.
Best practice: Set your business hours accurately. When you are offline, configure the widget to show:
● An offline contact form
● Social links (WhatsApp, Instagram, Telegram) for asynchronous communication
● A Calendly link for booking a time to talk
Knocket lets you configure business hours, and the widget automatically switches between online (live chat) and offline (form + social links) modes based on your schedule.
Customizing Your Widget’s Appearance
Your chat widget should match your brand, not look like a third-party addition. Configure:
● Primary color – Match your brand’s primary color or use a contrasting color for visibility
● Widget position – Bottom-right is standard and expected; bottom-left works if your layout has a left-side navigation
● Agent avatar – Use a real photo of your team, not a generic avatar
● Welcome message – Specific and helpful, not generic
Configuring the Proactive Welcome Message
The proactive message (the greeting that appears when the widget opens) is the most important piece of text in your chat configuration. It determines whether a visitor engages or ignores the widget.
Effective proactive messages:
● “Hi! Questions about pricing? I can help you find the right plan.”
● “Need help? Ask me anything about our products or shipping.”
● “Welcome! I am here if you need help choosing the right option.”
Ineffective proactive messages:
● “Hi” (Too brief, does not give the visitor a reason to respond)
● “Welcome to our website! How may I assist you today?” (Generic, easy to dismiss)
● “CLICK HERE FOR A SPECIAL OFFER!!!” (Aggressive, feels spammy)
Timing: Set the proactive message to appear 30-45 seconds after the page loads on high-intent pages (pricing, product, checkout). On blog or resource pages, trigger it after the visitor scrolls 60% down the page.
Setting Up Social Links
Social link aggregation is one of the most valuable features for visitor engagement. Not everyone wants to chat through a website widget. Some visitors prefer WhatsApp, Instagram, or Telegram.
Configure your social links in the widget settings:
● WhatsApp – Add your business WhatsApp number
● Instagram – Link to your Instagram profile
● Telegram – Add your Telegram handle
● Facebook Messenger – Connect your Facebook Page
When a visitor clicks a social link, they are directed to that platform’s messaging interface with your business pre-loaded. This is especially valuable for:
● International visitors who prefer WhatsApp
● Mobile users who find social messaging more comfortable than web chat
● Visitors who want to continue the conversation asynchronously
Part 4: Optimization Strategies
Strategy 1: Segment Your Proactive Messages by Page
Different pages attract visitors with different intents. Your proactive message should match:
Page Type | Visitor Intent | Best Proactive Message |
Pricing page | Comparing costs | “Questions about our pricing? I can help you find the best plan.” |
Product page | Evaluating features | “Need help deciding? I can answer any product questions.” |
Checkout page | About to buy | “Almost there! Let me know if you need help completing your order.” |
Blog page | Researching | “Looking for something specific? I can point you to the right resource.” |
Contact page | Wants to reach out | “Hi! I am here to help. What can I do for you?” |
Strategy 2: Use Offline Forms to Capture Leads
When you are offline, your chat widget should still capture visitor information. Configure your offline form to ask for:
● Name (required)
● Email (required)
● Message (required)
● Phone number (optional)
Set an auto-response email that acknowledges receipt and sets expectations: “Thank you for your message. We will respond within 24 hours during business hours.”
Strategy 3: Integrate Calendly for High-Value Conversions
For service businesses, consultants, and B2B companies, the highest-value conversion is a booked meeting. Integrate Calendly into your chat widget so visitors can book a consultation directly from the chat interface.
This eliminates the multi-step process of: chat → exchange emails → find a time → schedule → confirm. With Calendly integration, the visitor sees available time slots directly in the chat and books in 30 seconds.
Strategy 4: Monitor and Reduce Response Time
According to SuperOffice’s analysis of 1,000 companies, the average first response time for live chat is 2 minutes 40 seconds. However, response times under 60 seconds correlate with significantly higher CSAT scores and conversion rates.
Use canned responses for common questions to reduce response time. According to industry data, 69% of companies use pre-written responses to handle frequently asked questions faster.
Strategy 5: Track Key Metrics
Set up tracking for these chat widget metrics:
● Chat engagement rate – Percentage of visitors who open the chat widget (target: 3-8%)
● Chat-to-lead rate – Percentage of chatters who become leads (target: 20-40%)
● Average first response time – Target under 60 seconds
● CSAT score – Target above 85%
● Proactive chat acceptance rate – Target 15-30%
Use your chat platform’s built-in analytics or set up Google Analytics events to track these metrics.
Common Setup Mistakes to Avoid
1. Installing the Widget and Never Configuring It
The default settings of most chat widgets are not optimized for conversions. Take 10 minutes to configure business hours, proactive messages, social links, and brand colors.
2. Showing “Offline” With No Alternative
A widget that says “We are offline” with no way to leave a message or contact you through social links is worse than no widget at all. It signals to visitors that you are unavailable and unreachable.
3. Ignoring Mobile Layout
Test your chat widget on mobile devices. Make sure it does not block important content, that tap targets are large enough, and that the chat window does not cover the entire screen.
4. Using the Same Proactive Message on Every Page
Generic messages get ignored. Customize your proactive message for the page the visitor is on, as described in Strategy 1 above.
5. Not Setting Business Hours
If your widget appears “online” 24/7 but you only respond during business hours, visitors who chat at 10 PM will not get a response until the next morning. This creates a poor experience and wastes the visitor’s time.
FAQ
How long does it take to add a chat widget to a website?
Most chat widgets can be installed in under 5 minutes. You paste a single line of JavaScript into your website’s HTML, and the widget appears immediately. Configuration (business hours, proactive messages, brand customization) adds another 10-15 minutes.
Can I add a chat widget without coding?
Yes. Most website builders (WordPress, Shopify, Squarespace, Wix) allow you to add custom code through their settings without editing HTML directly. WordPress plugins and Shopify apps make the process even simpler.
Do I need a chat widget on every page of my website?
Yes. Your chat widget should be available on every page because you cannot predict which page a visitor will be on when they have a question. Most chat widgets load on all pages automatically when you add the script to your site’s footer.
How do I customize my chat widget to match my brand?
Most chat widgets allow you to customize the widget’s color, logo, position, and welcome message through their dashboard settings. Knocket offers full brand customization including colors, logo, and widget theme at no cost.
Can I use multiple chat widgets on the same website?
Technically yes, but it is not recommended. Multiple chat widgets can conflict with each other, slow down your page, and confuse visitors. Choose one widget that meets all your needs.
How do I handle chat when I am not available?
Configure your widget to show an offline contact form, social links (WhatsApp, Instagram), and Calendly scheduling when you are offline. This ensures visitors can still reach you even when you are not available for live chat.