Create Push
This document provides step-by-step instructions for creating and sending push tasks through Console > Push > Web Push.
Activate the Service
Before you can use the Push functionality in the console, activate the Push service.
Create a Push Task
Basic Settings
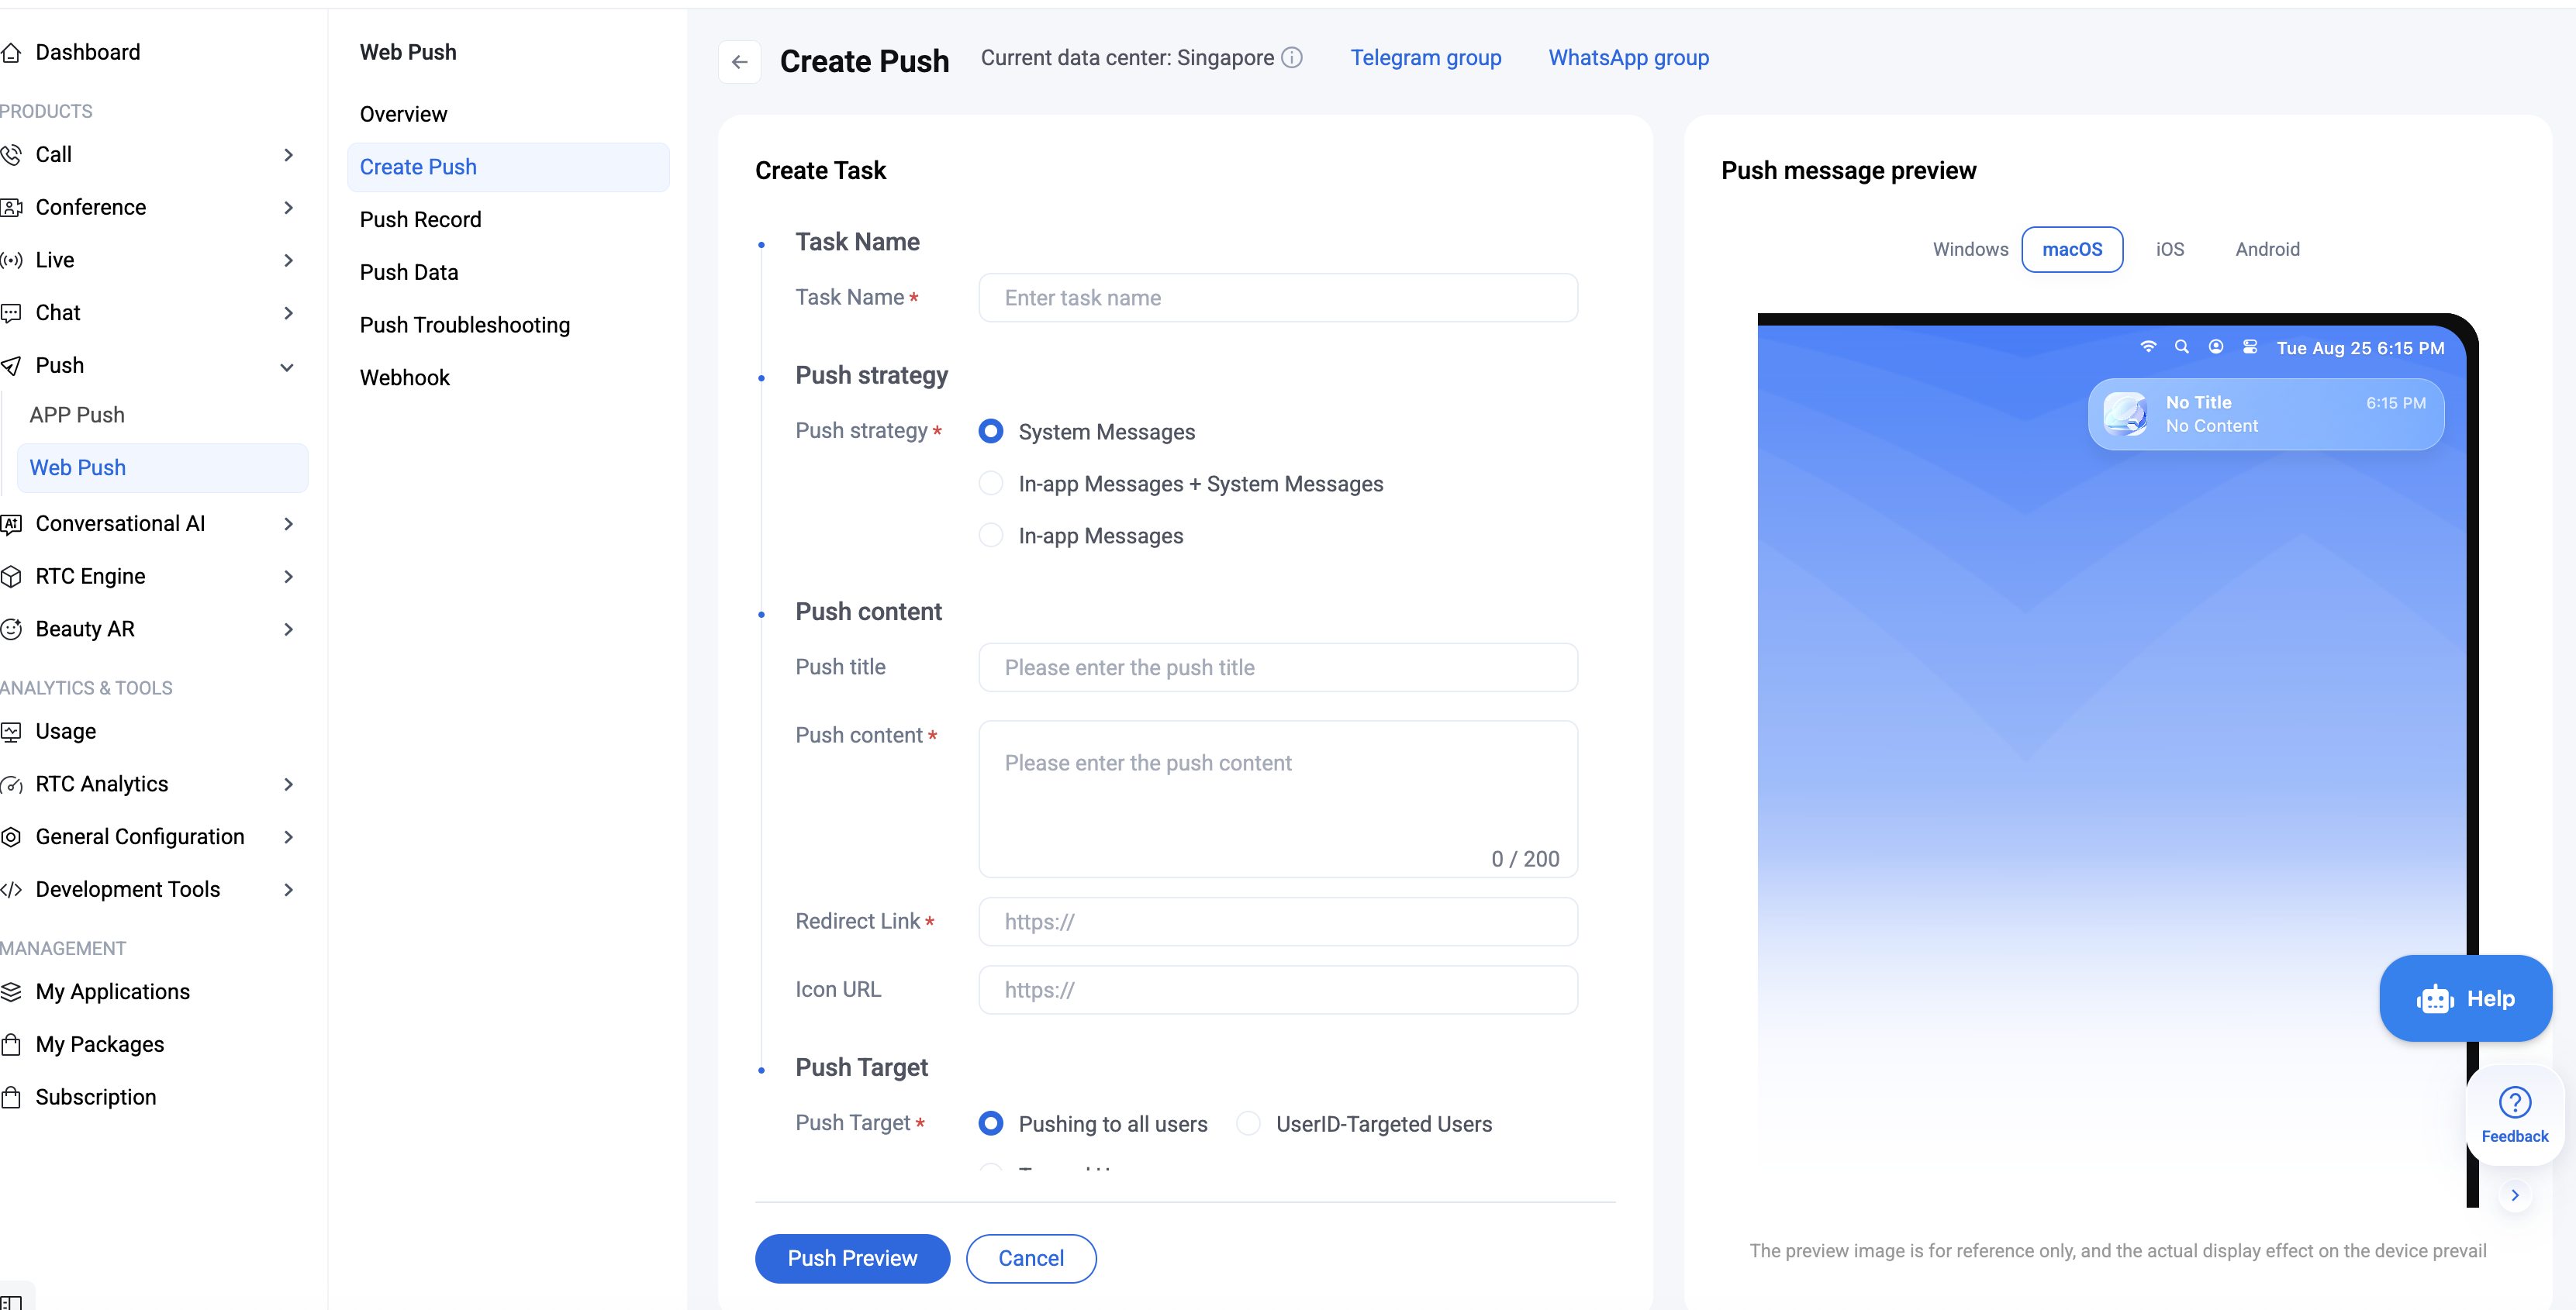
Task Name
Enter a task name for each push task.

Push Strategy
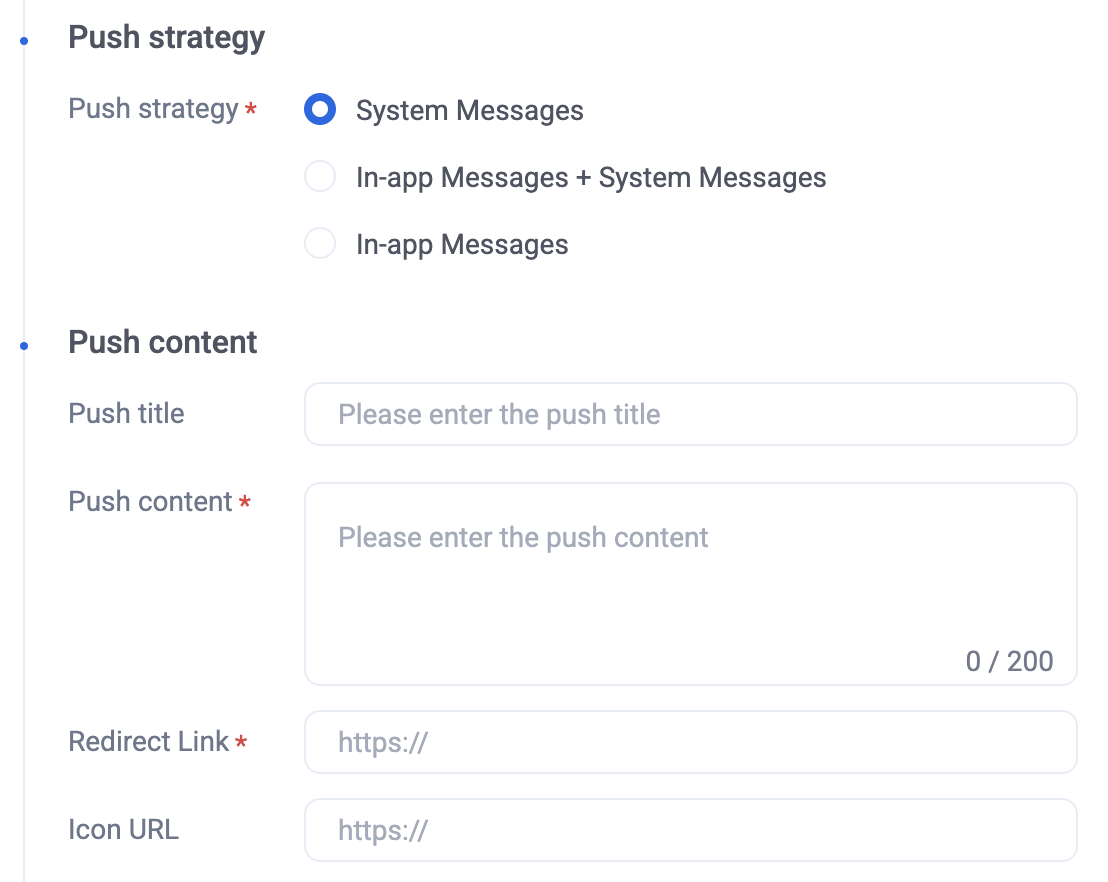
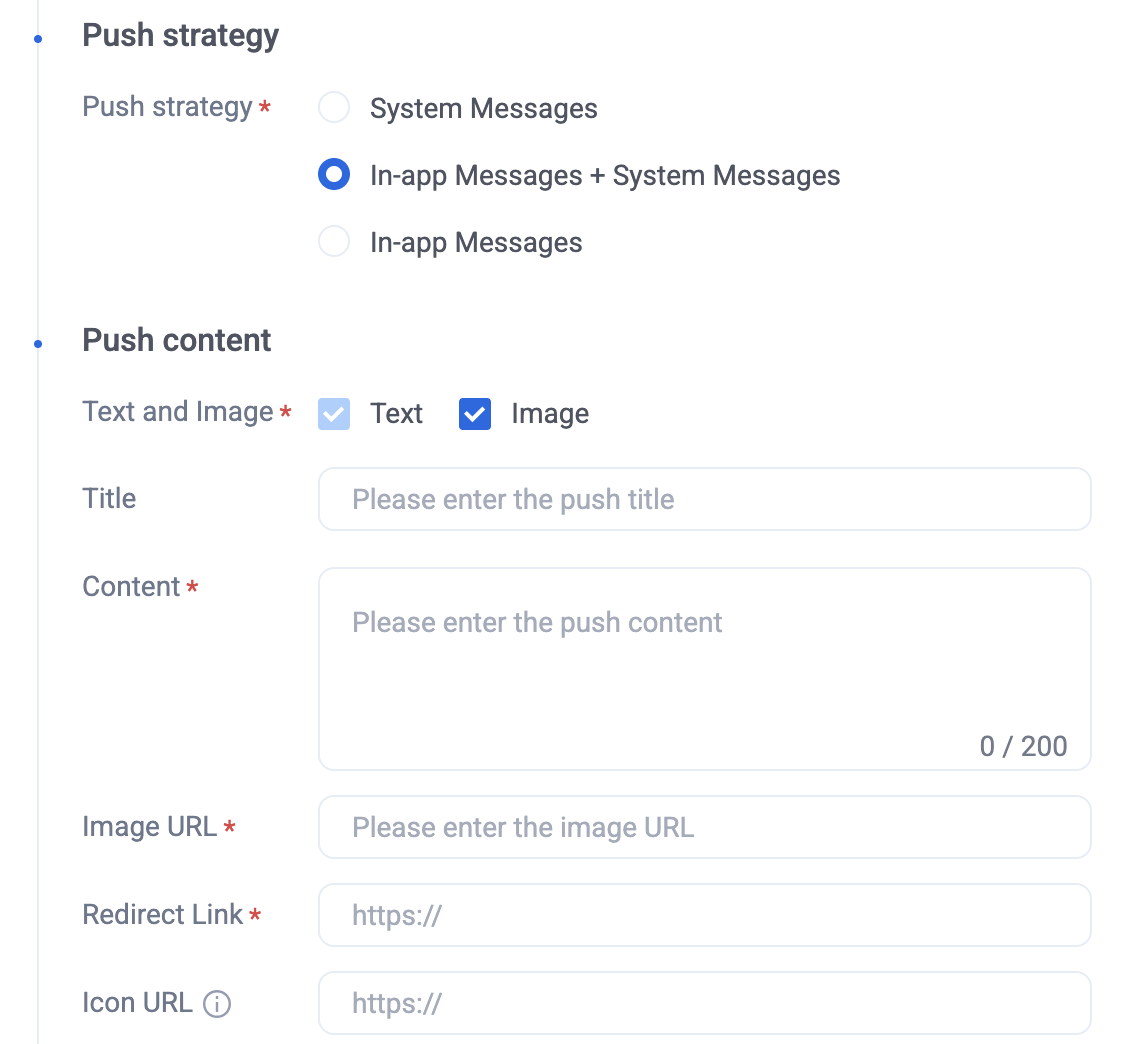
Web Push supports three push strategies. Select the strategy that best matches your requirements:
System Notification: Sends notifications to both online and offline users
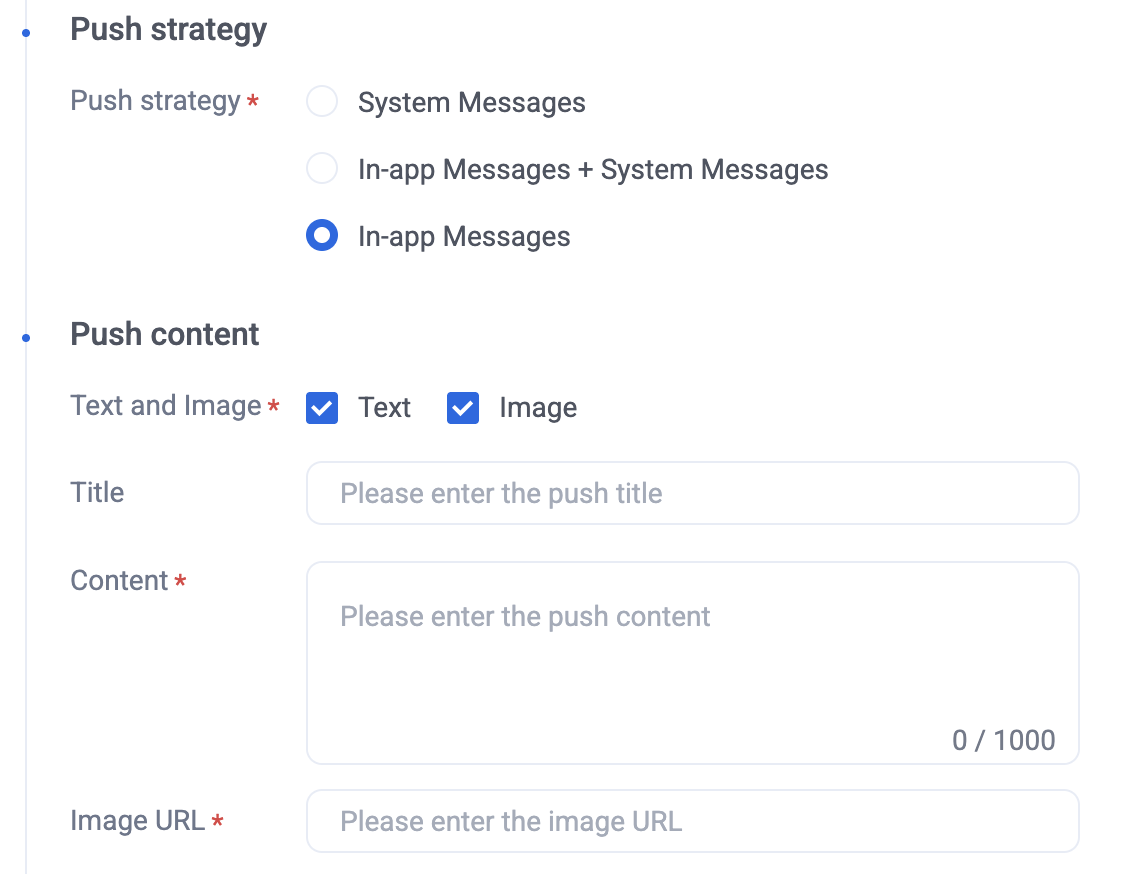
In-App Message: Uses TIMPush to send messages to online users only; offline users do not receive notifications
System Notification + In-App Message: Sends TIMPush messages to online users; sends System Notifications to offline users
Push Content
You can manually configure push content. Set both the push title and content (required fields). To prevent vendor blocking and ensure successful delivery, avoid using words such as "test". You may also include a custom link.
System Notification settings include title, content, redirect link, and icon URL.
Settings include title, content, image URL, redirect link, and icon URL.
Settings include title, content, and image.
Buttons
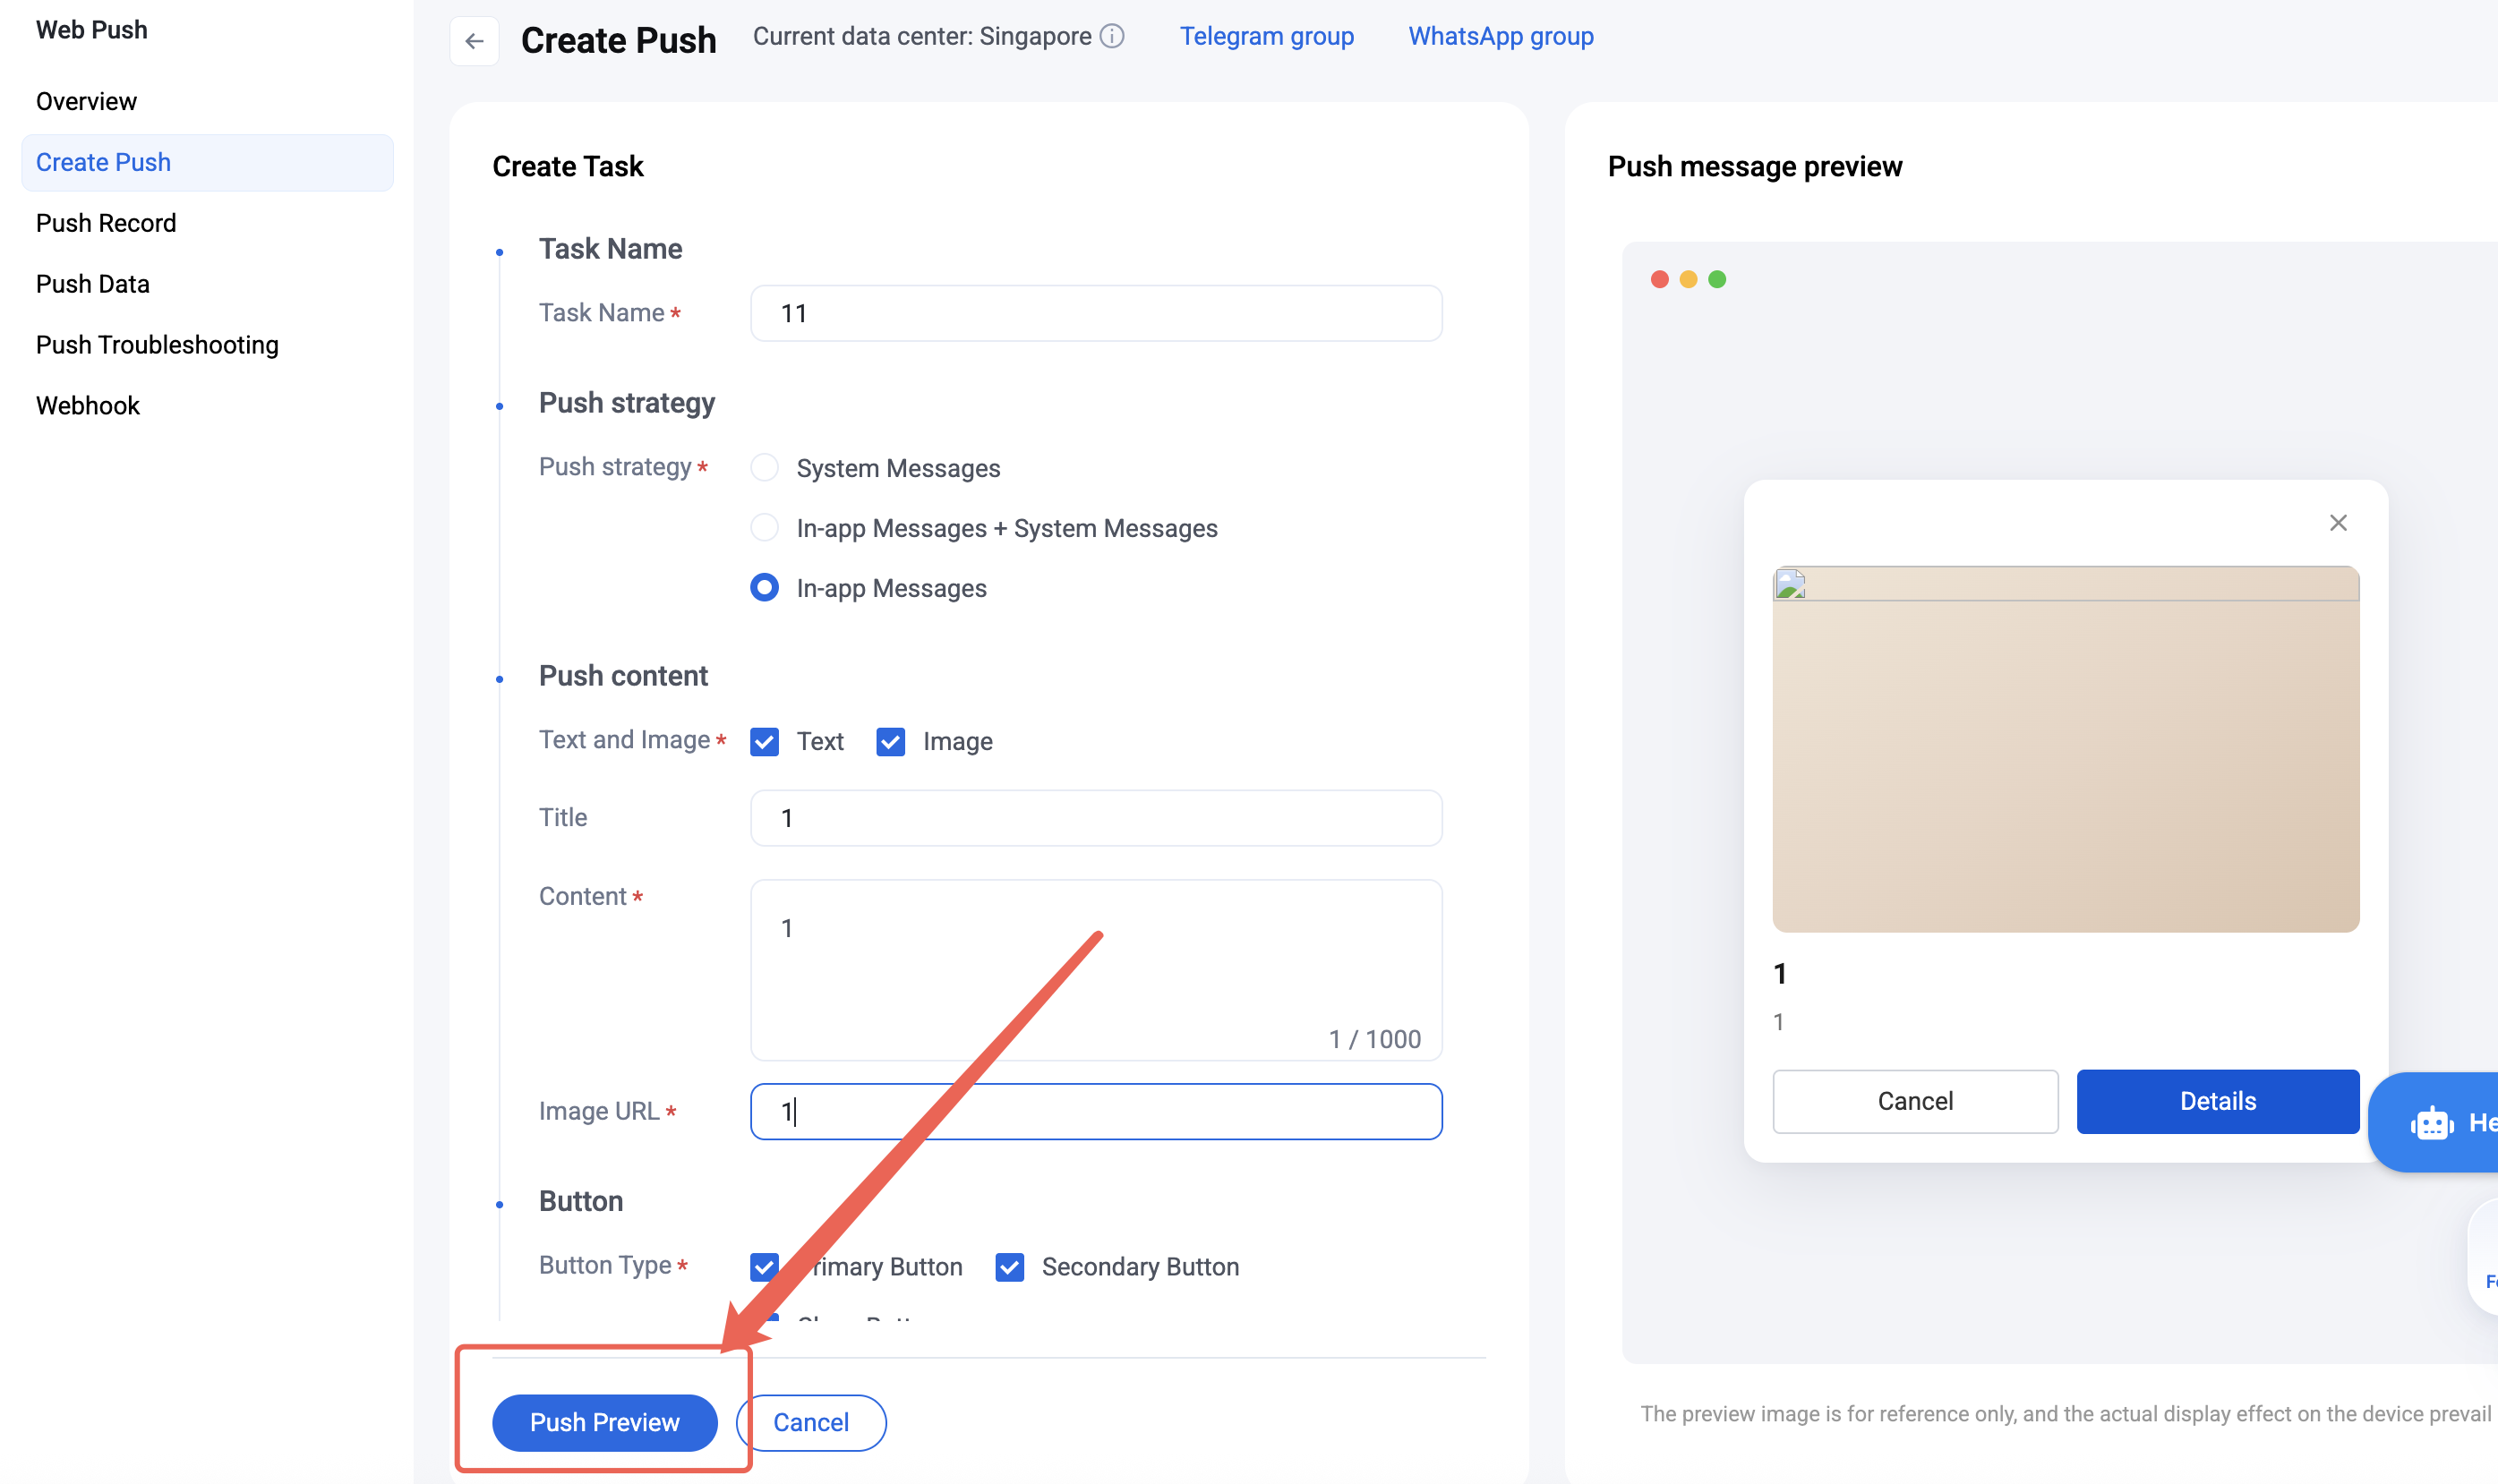
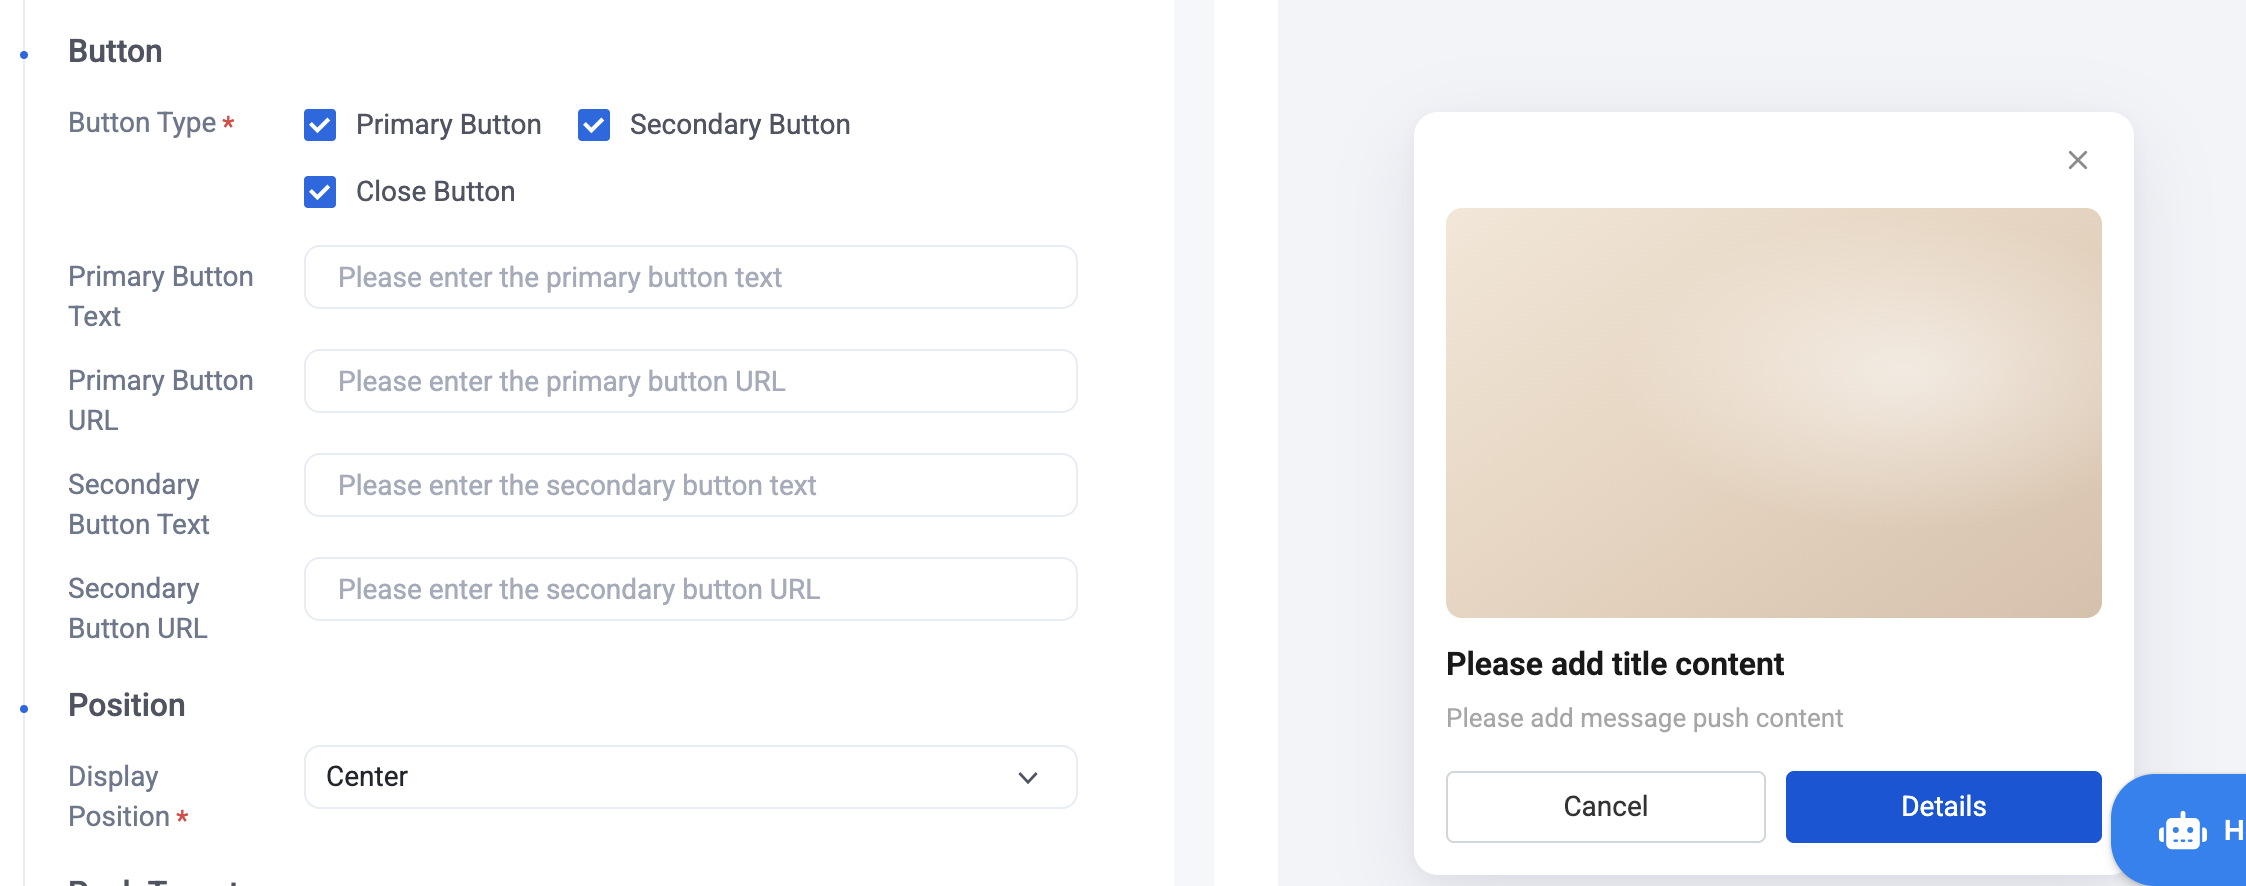
Web Push provides three button types: primary (Details), secondary (Cancel), and close. Configure the button text and set the associated redirect links.
Position Configuration
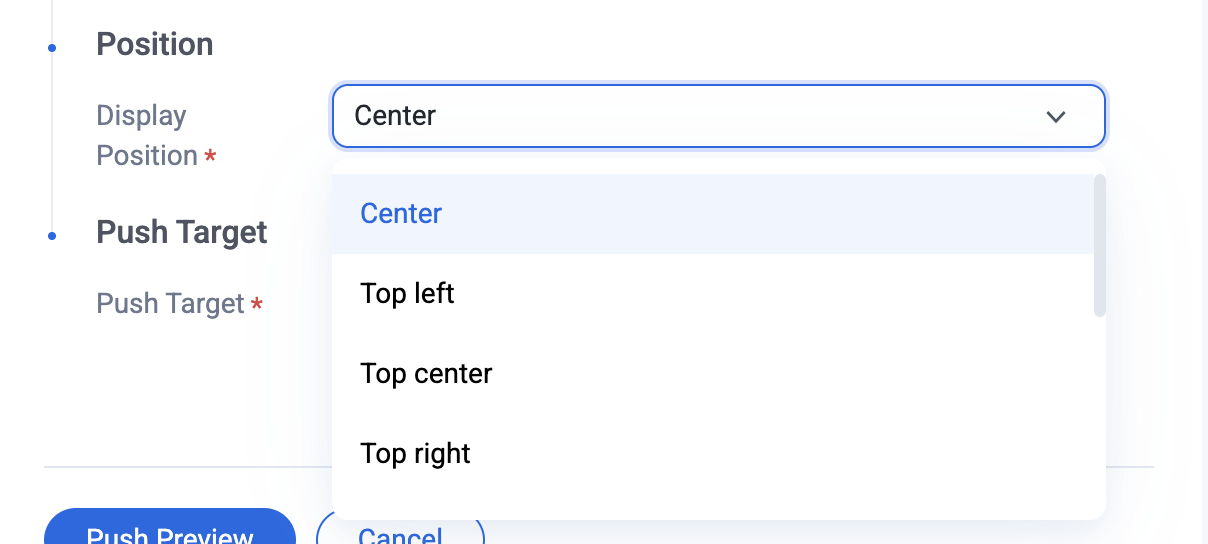
Set the display position for the online popup: center, top left, top center, or top right.
Push Target
You can target one of three recipient groups: Specified User Push, Tag Push, or All Users Push.
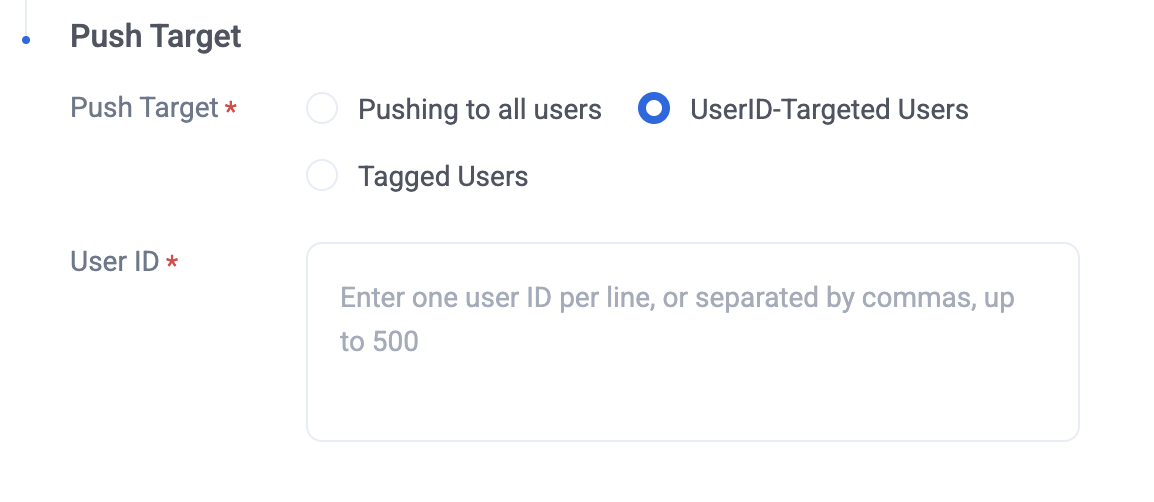
Specified User Push
Enter the Registration ID(s) for the target user(s). Use line breaks to separate multiple IDs.
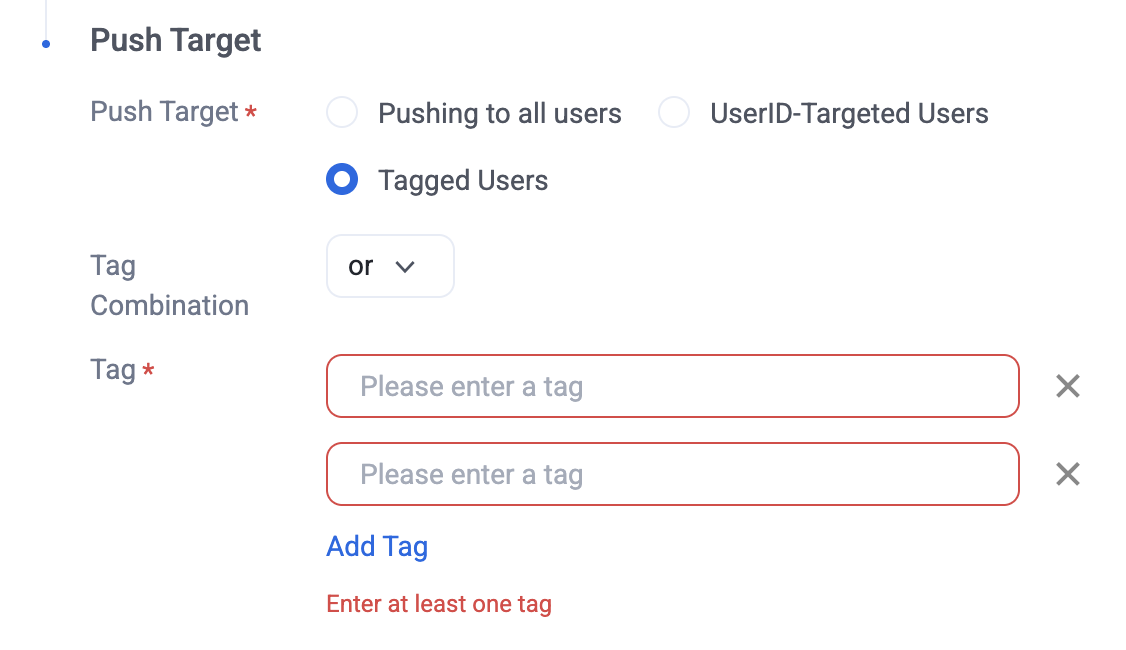
Combine existing tags using "AND" or "OR" logic. You can add up to 10 tags in a single push task.
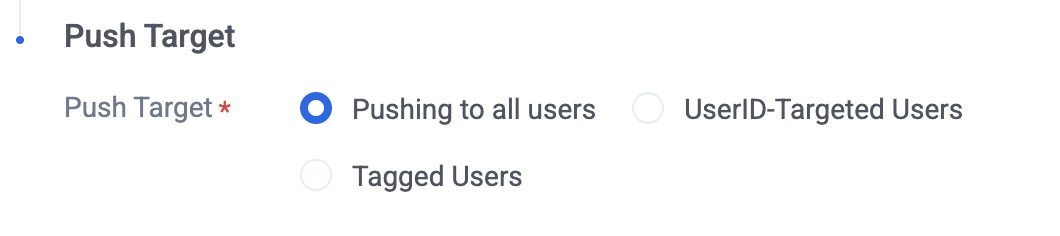
Send to all active users of the current App. No additional setup is required.
Push Preview
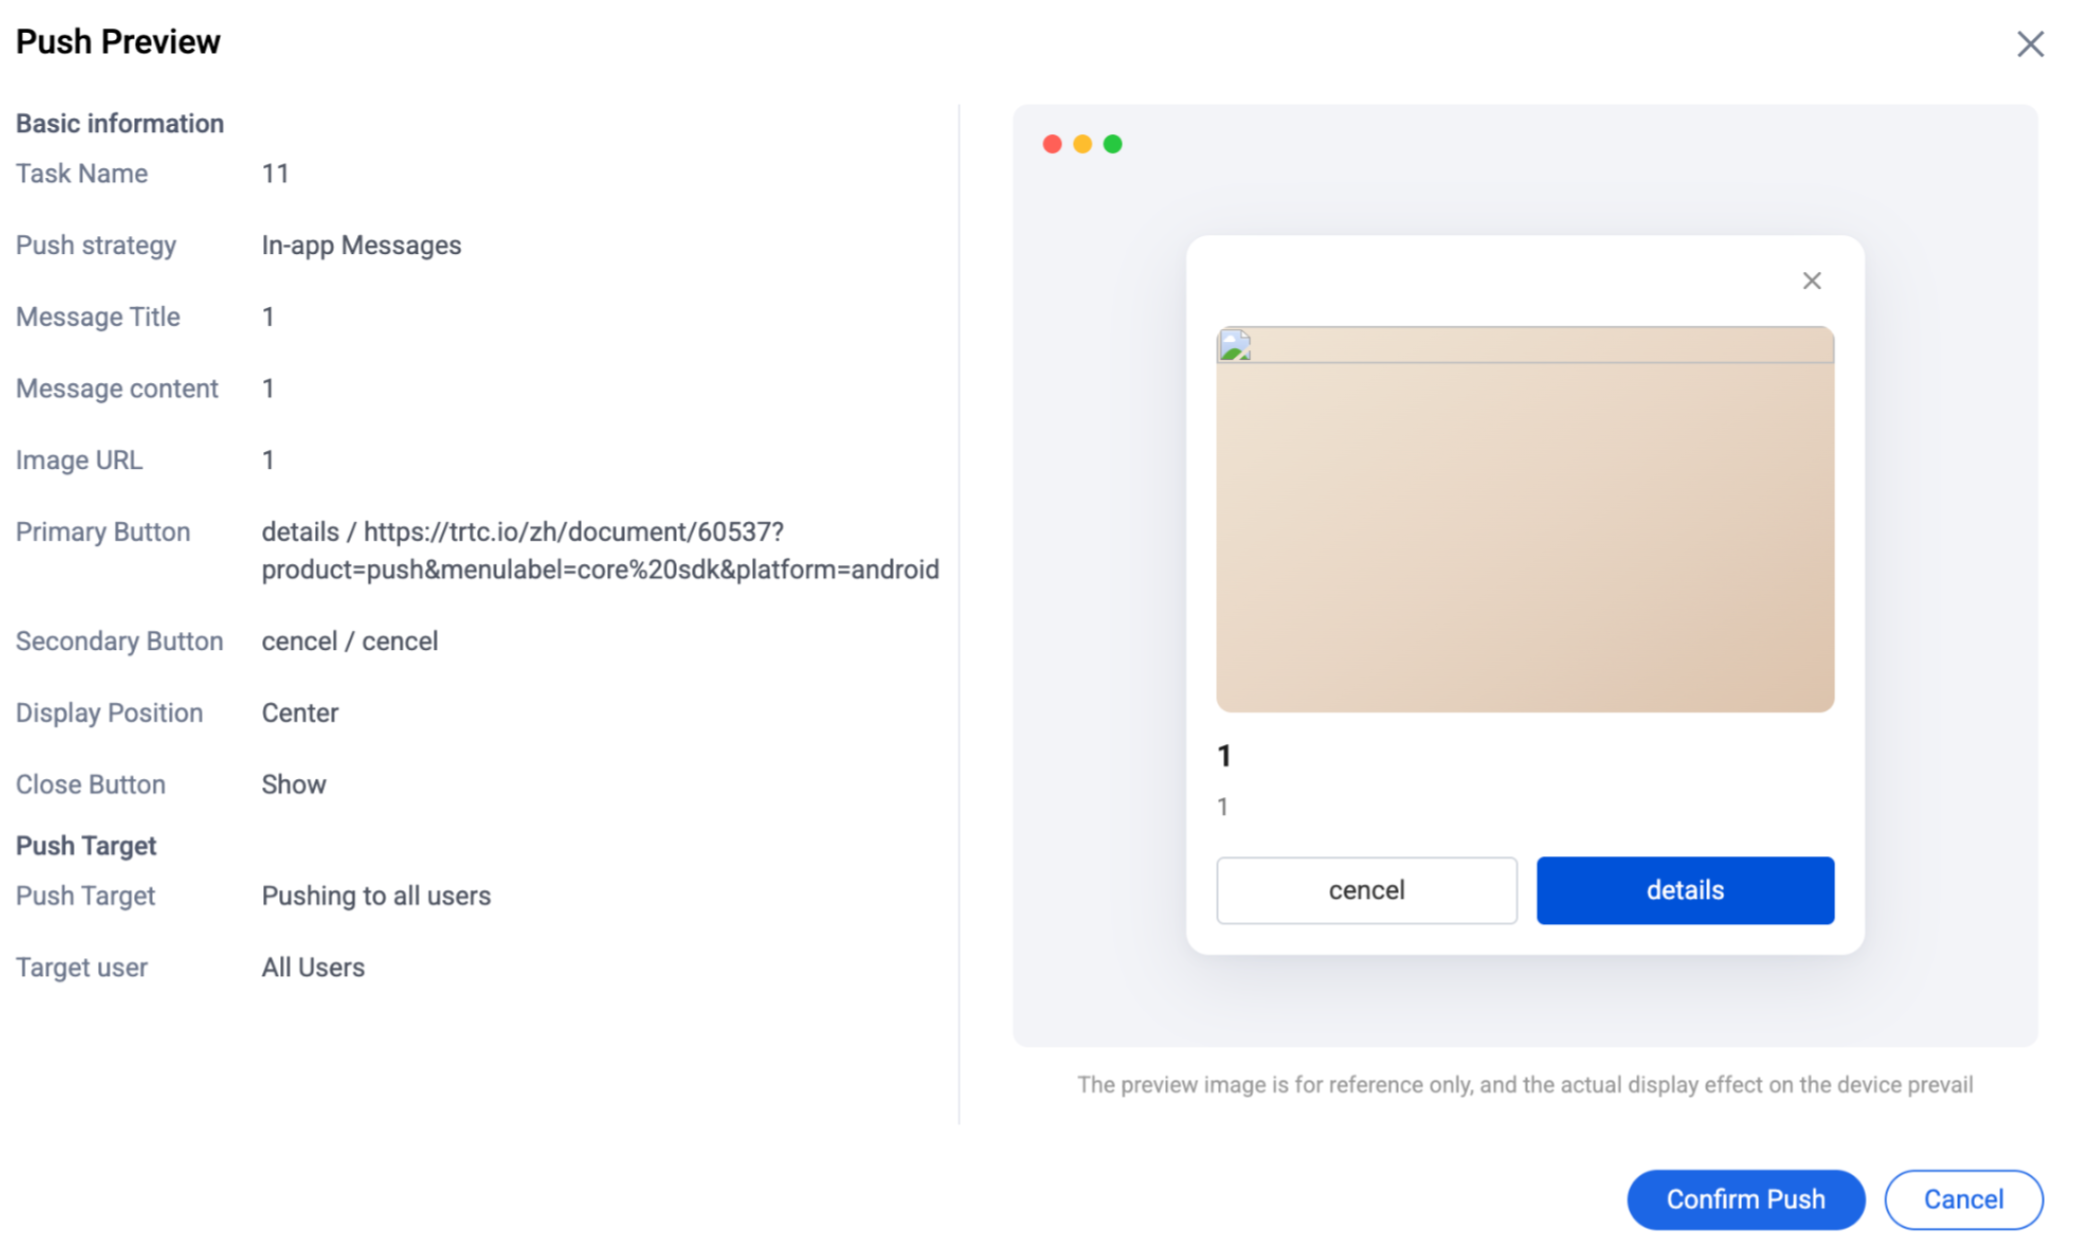
1. The Create Push page features a preview area on the right. As you enter the push title and content, the preview updates in real time to reflect the push appearance.
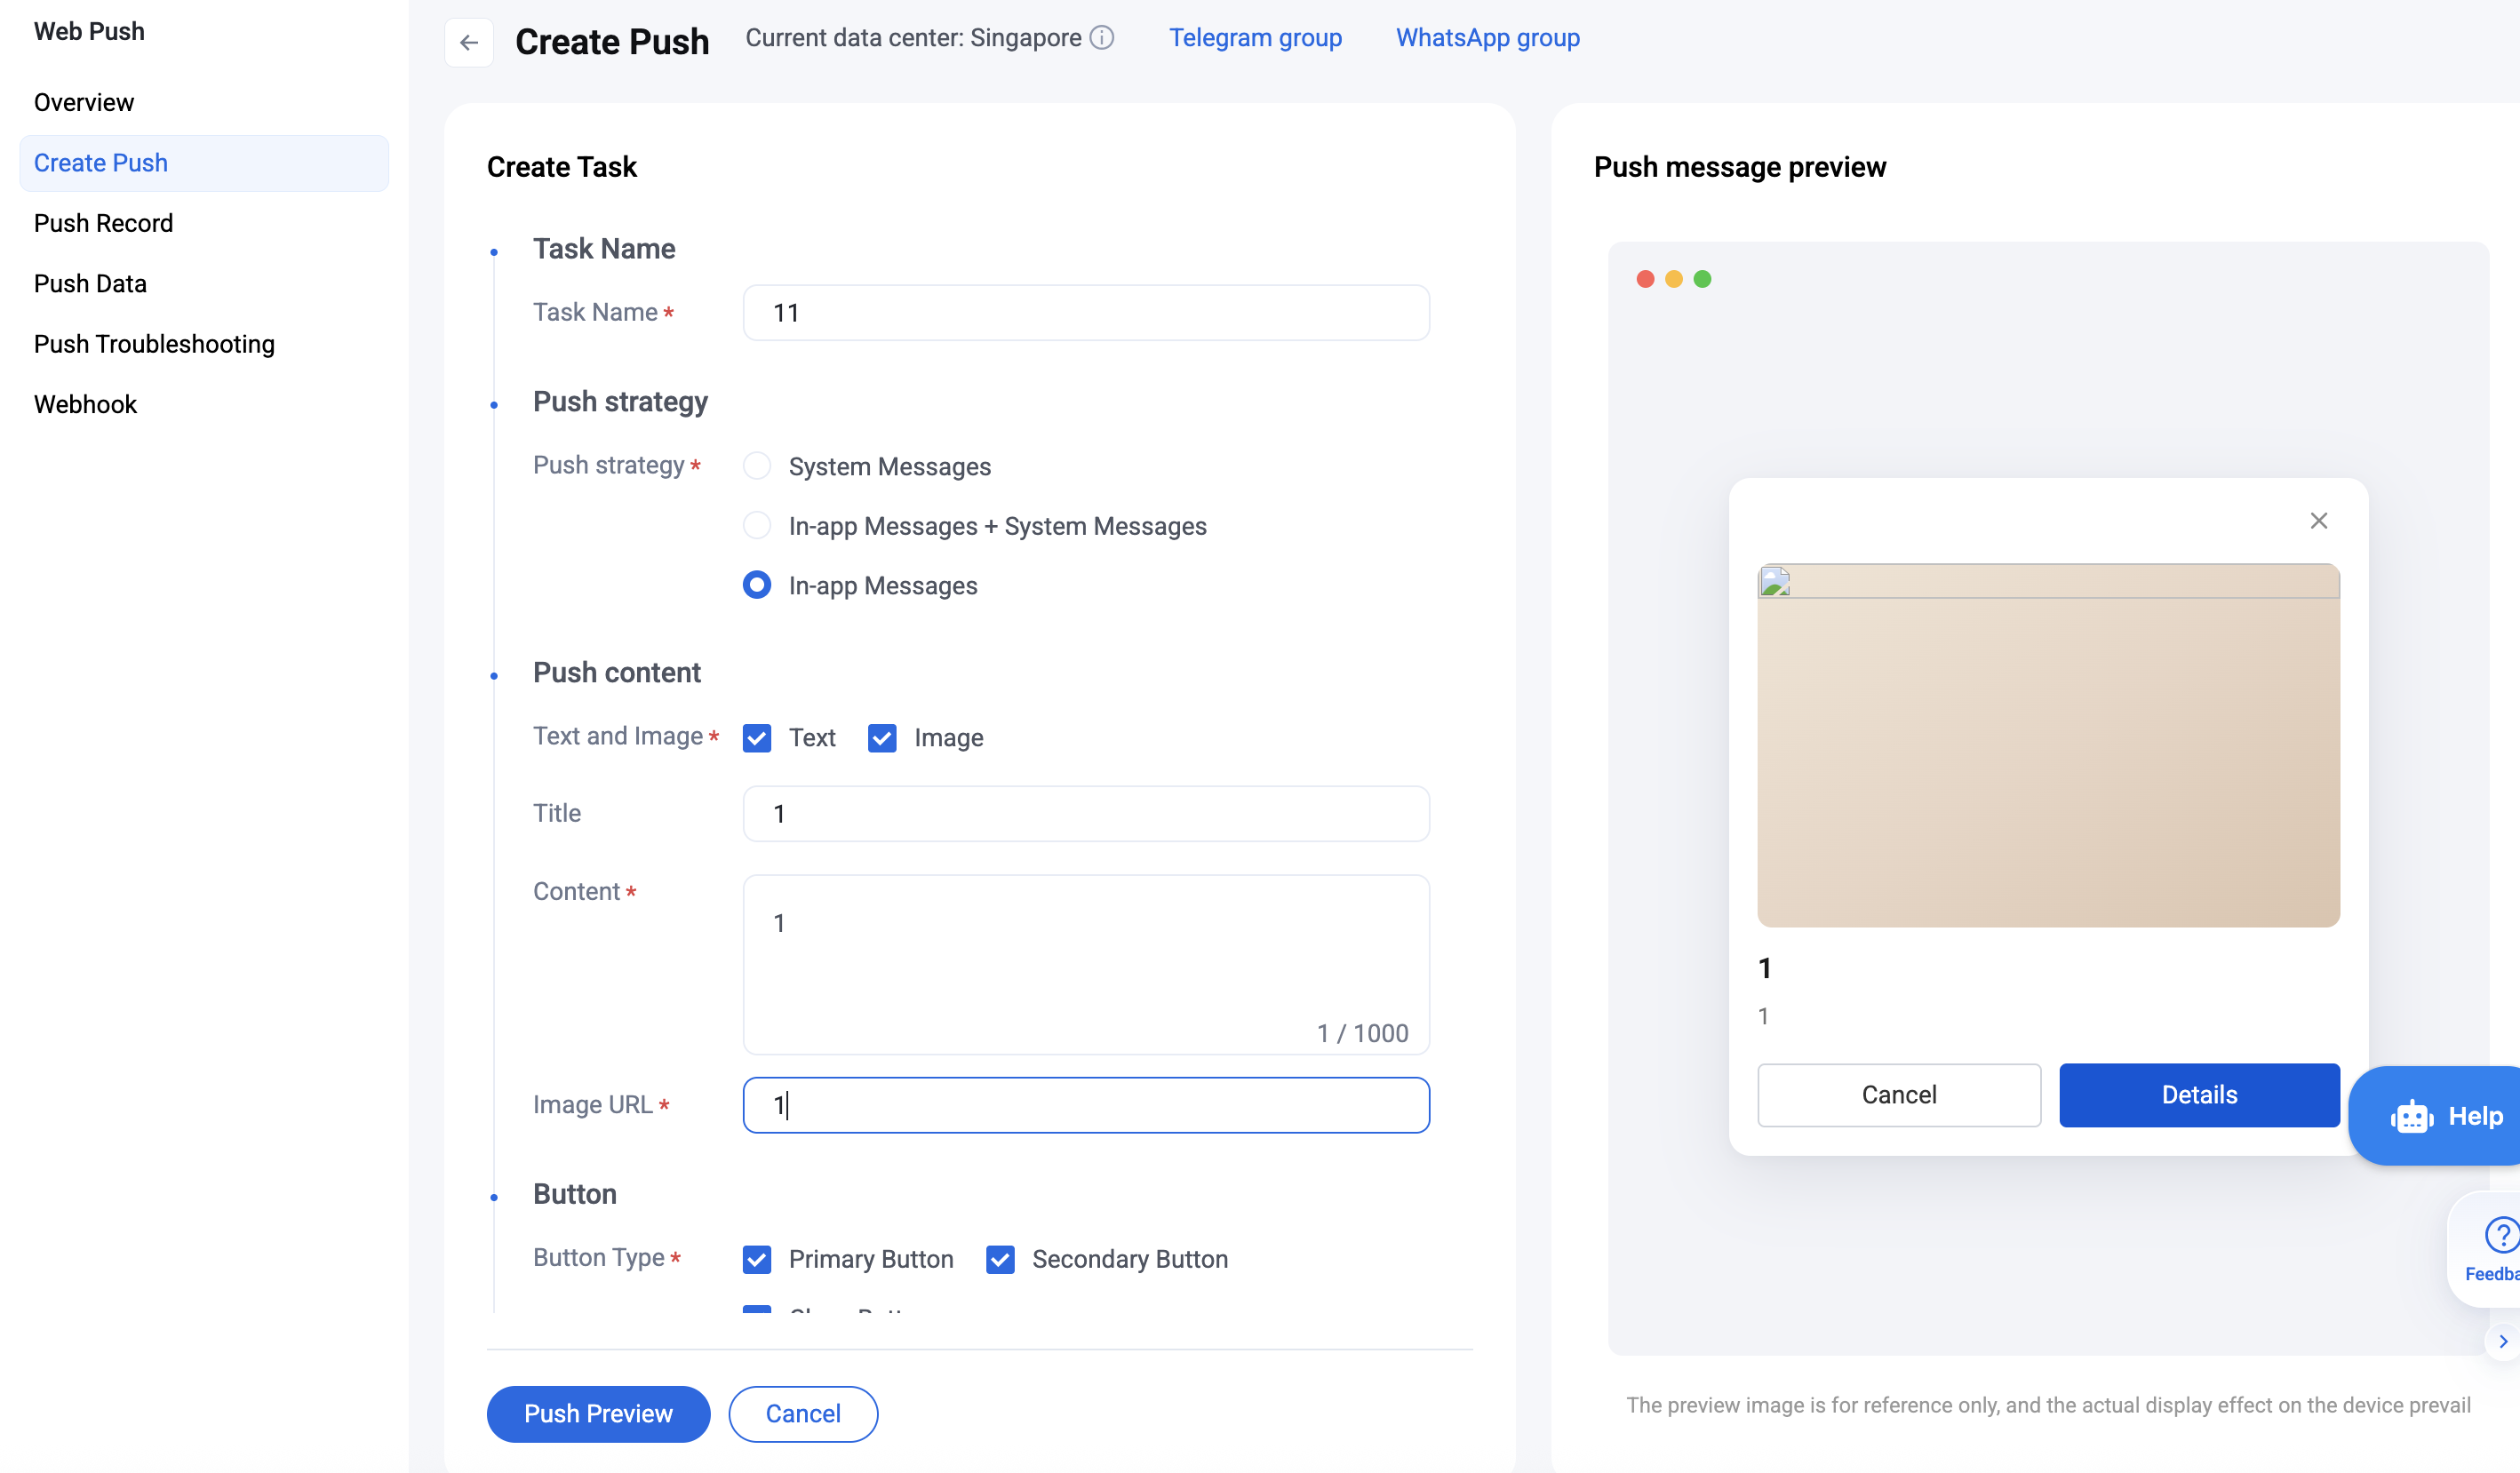
2. Once you have finished configuring the push task, click Push Message at the bottom. Review the push preview, then click Confirm Push to send the message.