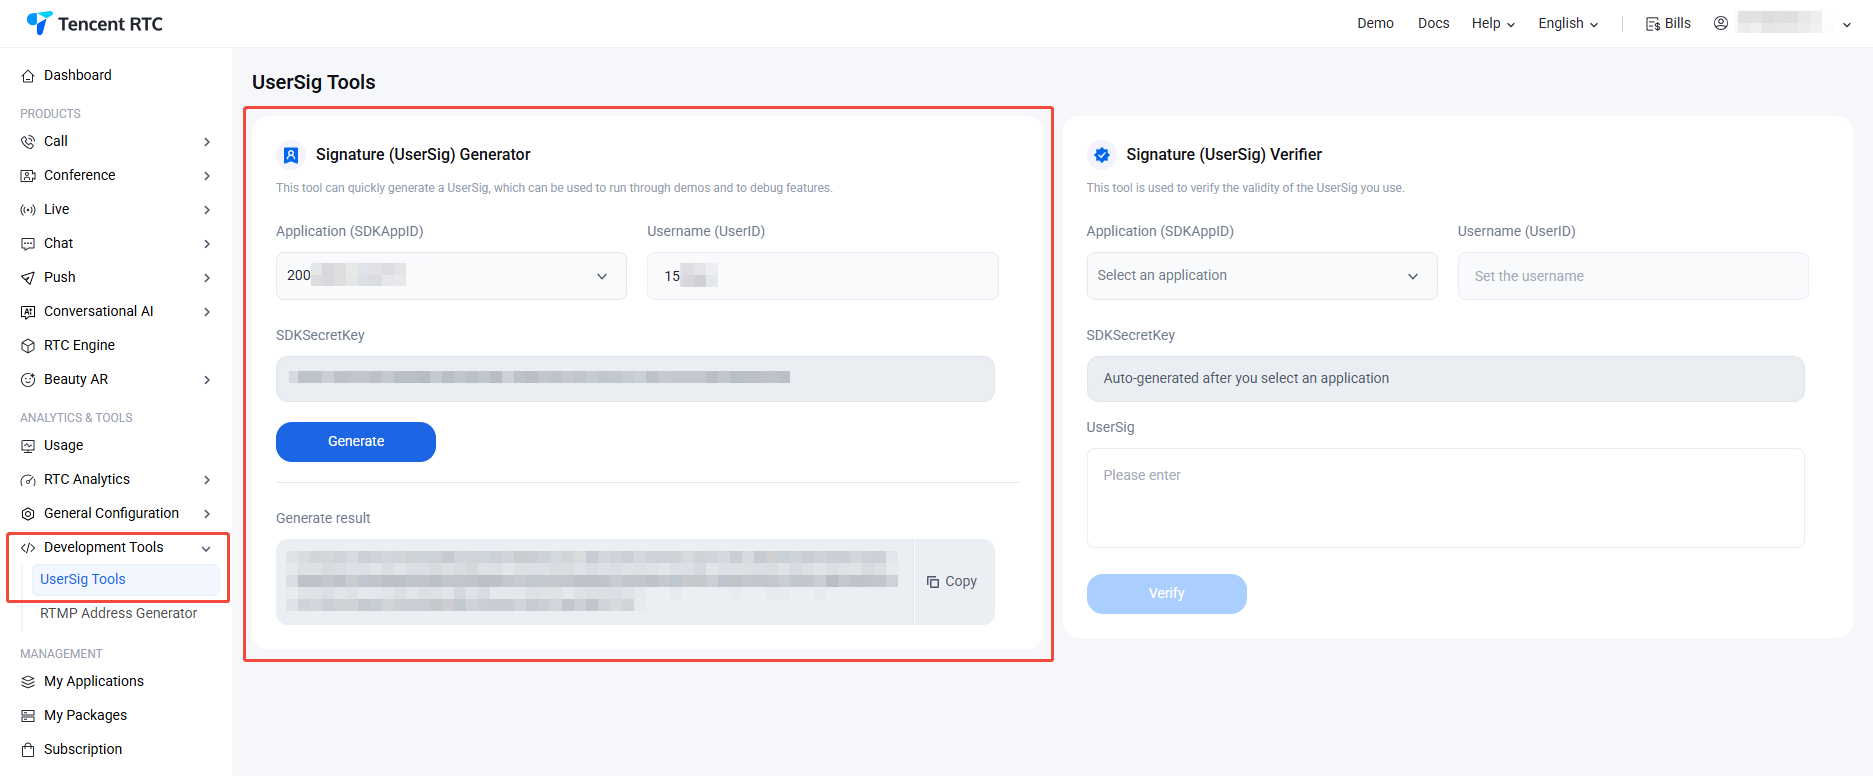
2. In the signature (UserSig) generation tool, select an application and enter the UserID. Click Generate to generate a signature. The default validity period is 180 days. Click Copy to paste and save the signature.
1. If you created an empty Android project to integrate TUIKit, you can follow the steps below to send your first message.
2. If you are integrating TUIKit into an existing project, keep your original UI code unchanged and only refer to the login and chat UI assembly logic below.
Log In to the TUIKit
To use features in TUIKit components, call the login API of LoginStore to log in to a user account. There are two cases:
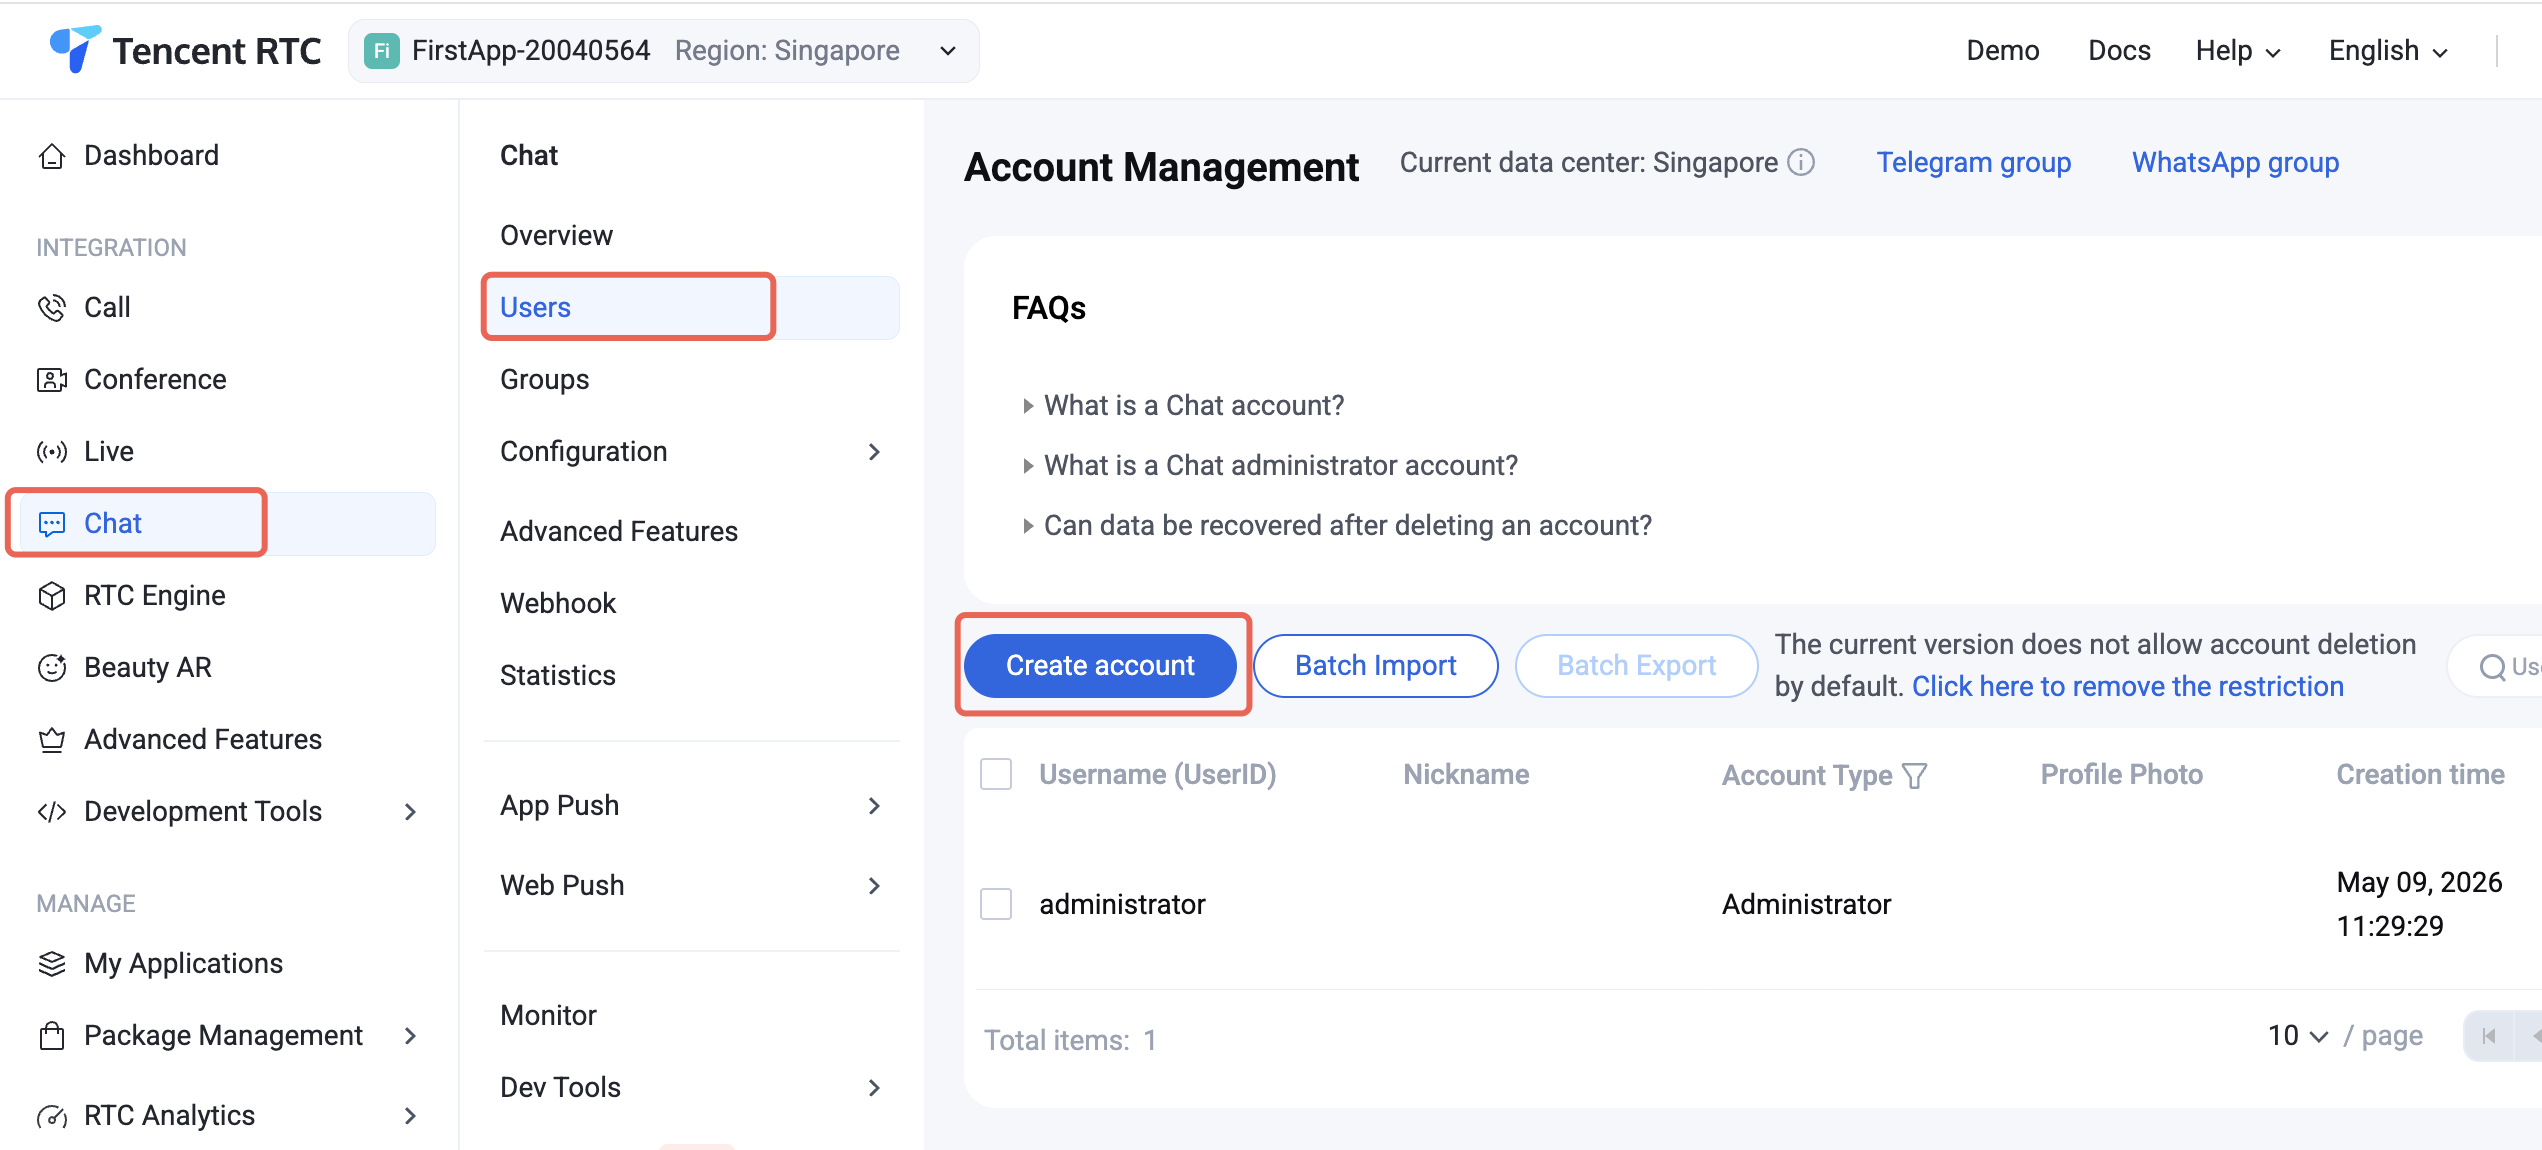
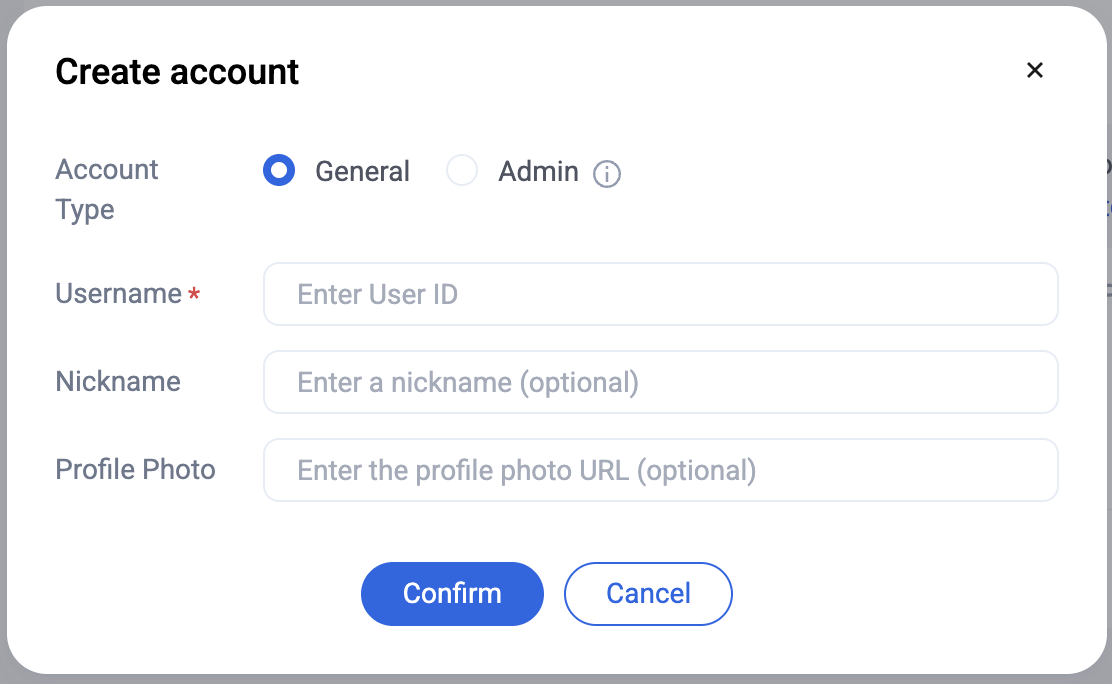
If you have not created user accounts in the Console in advance, call LoginStore to log in user1 and user2 one after another. Finally, make sure user1 is online.
If you already created user1 and user2 in the Console, only log in user1.
Description:
1. After user1 logs in and sends a message to user2, user2 does not need to log in. By default, Chat allows one-to-one messages between users and friends or strangers.
2. If you want user1 and user2 to chat interactively, log in to user2 on another device and open the chat with user1.
The login API call is shown below:
// API location: io.trtc.tuikit.atomicxcore.api.login.LoginStore
LoginStore.shared.login(
activity,// Activity context
sdkAppID,// Int, SDK application ID
userID,// String, User ID
userSig,// String, User signature
object: CompletionHandler {
overridefunonSuccess(){
// Login success
}
overridefunonFailure(code: Int, desc: String){
// Login failed
}
}
)
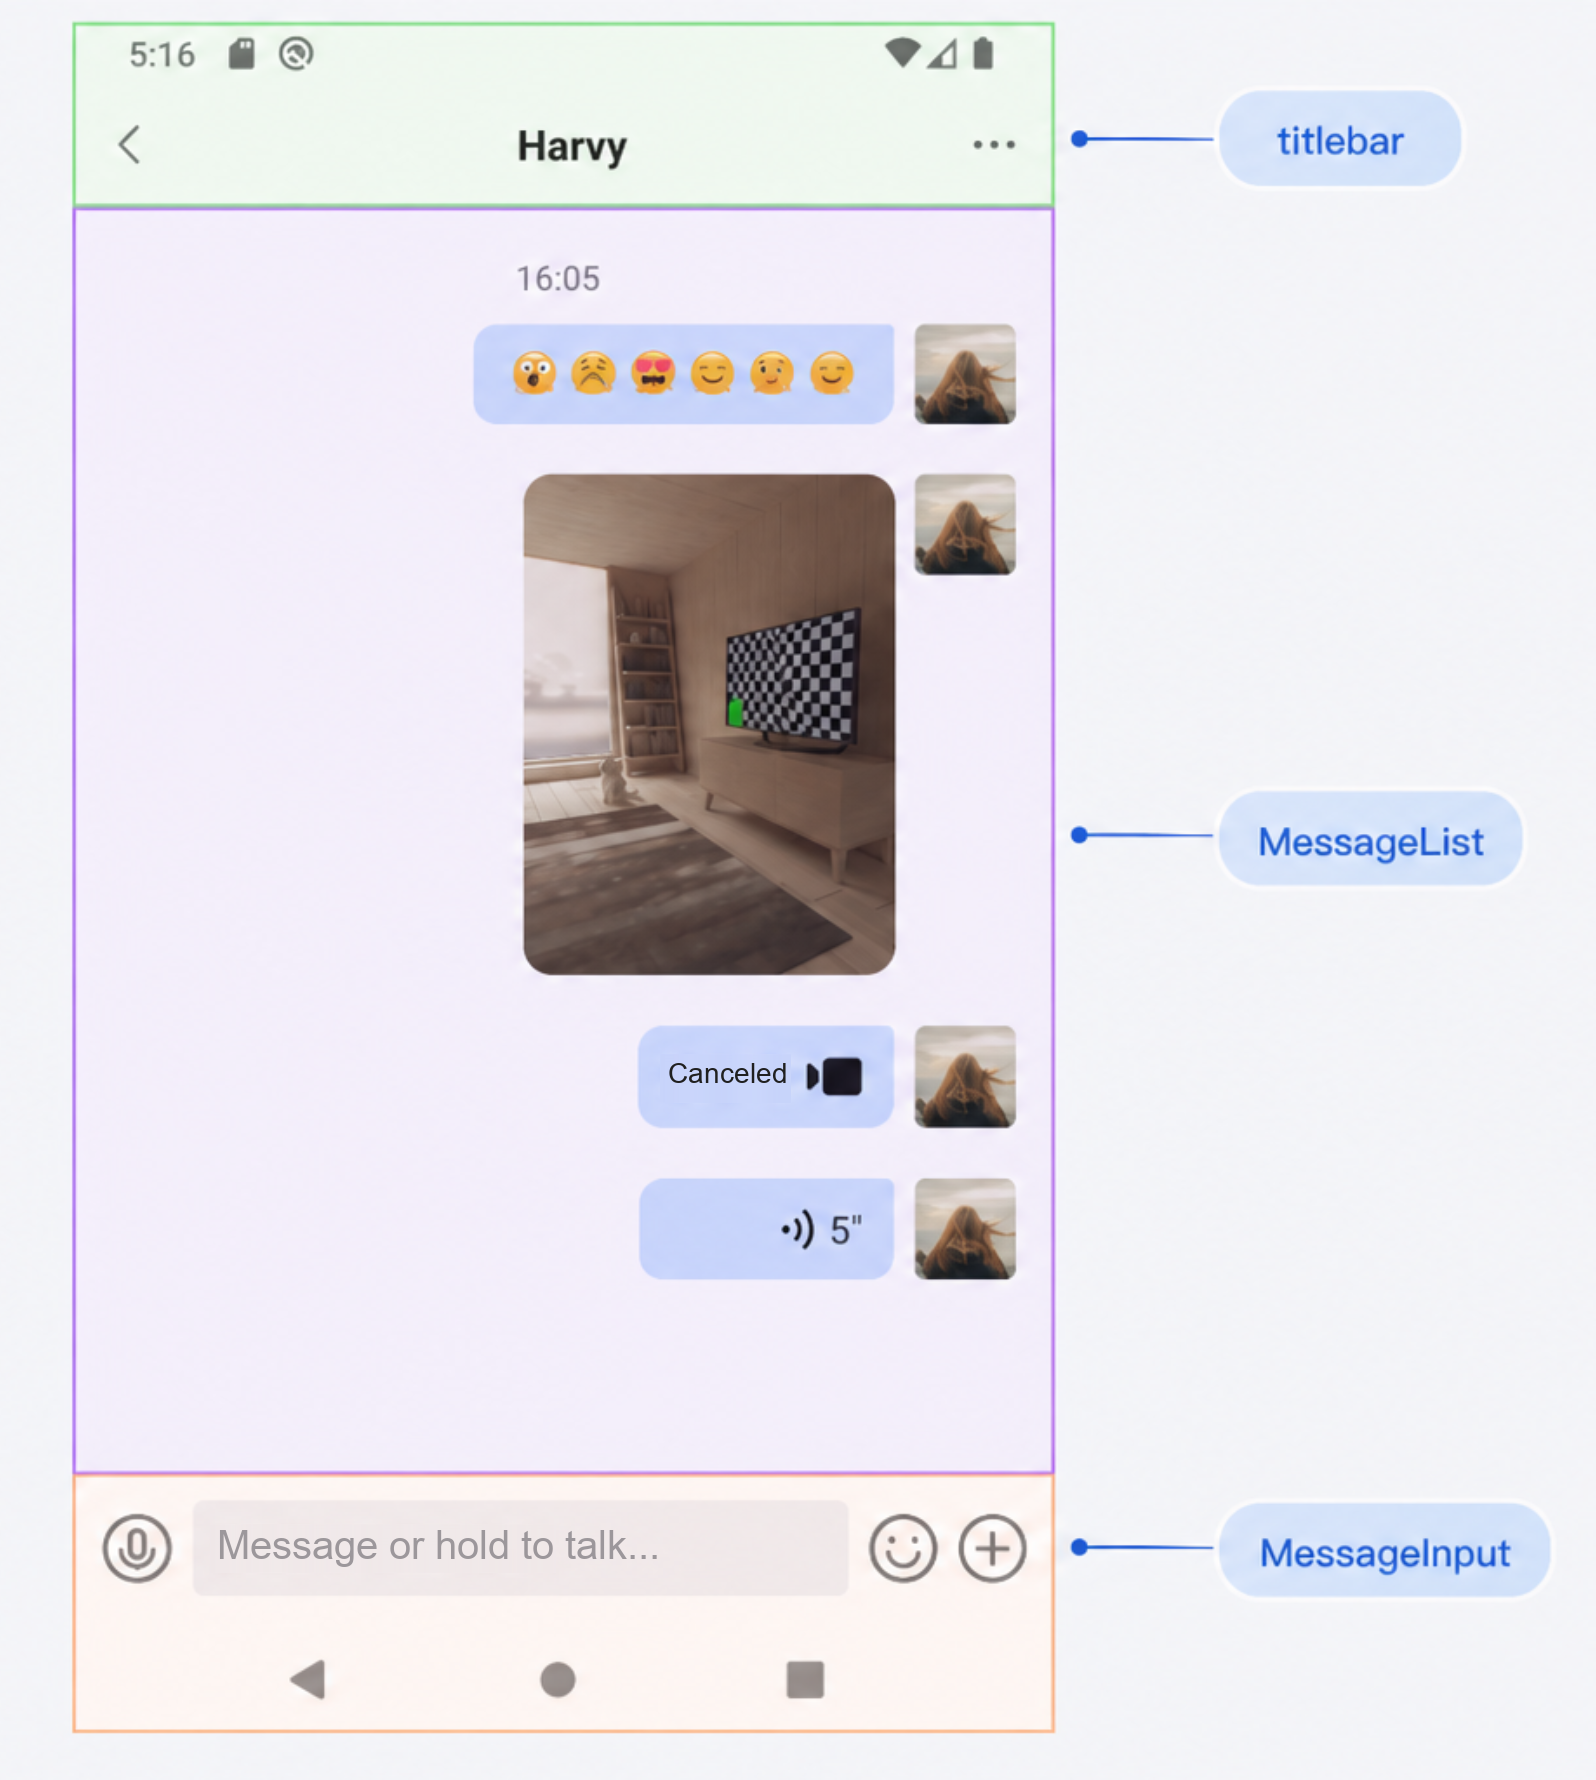
Load the Chat UI
The following uses an Activity that includes the complete login flow and chat UI as an example. Load this Activity when the app starts.
If you use the sample code directly, prefill the following parameters:
sdkAppID, the sdkAppID obtained above.
senderUserID, the userID of the message sender, that is, user1 above.
senderUserSig, the userSig obtained above for the message sender.
receiverUserID, the userID of the message receiver.